How To Clean Coins and Jewelry with Electrolysis - An Illustrated Tutorial, page 9
Building a Simple Coin Electrolysis Machine of "CLASSIC" Type
(...CONTINUED from Previous Page)
How To Make Anode/Cathode Connecting Sets
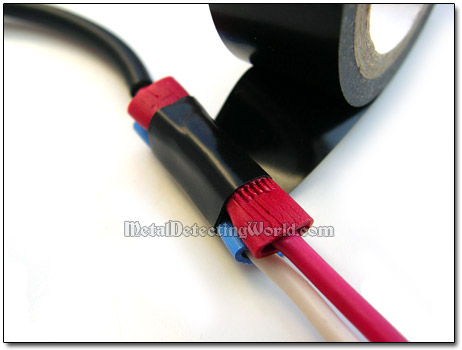
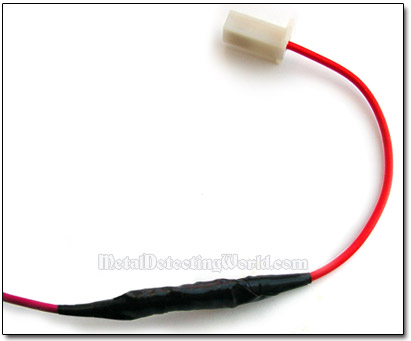
After you are done splicing the wires, wind the electrical tape around both butt splice connectors and the wires on both sides to make a solid wire joint.
Start with Connectors First
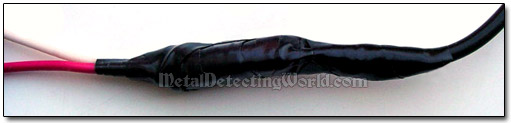
Now the cable is durable, and good electrical contacts have been secured.
A Solid Wire Joint is Secured and Insulated
Your next step will depend on what you are planning to do. If you are going to use your electrolytic coin cleaner a lot and on both large and small coins, you should make additional anode/cathode connecting sets with larger clamps. If not, affix the alligator clips to the wires as shown on Page 12 of my "Electrolytic Rust Removal" tutorial, and proceed to page 11.
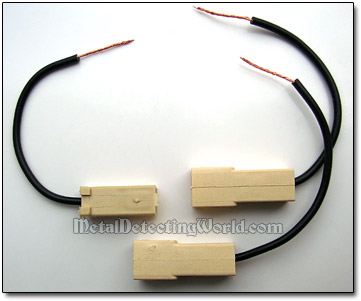
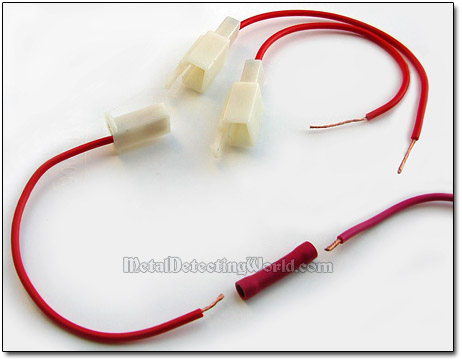
Prepare one "male" plug with a red wire to which you will connect the positive wire end, and two "female" sockets with red wires to which you will affix the connector clips.
A Male Plug and Two Female Sockets with Wires
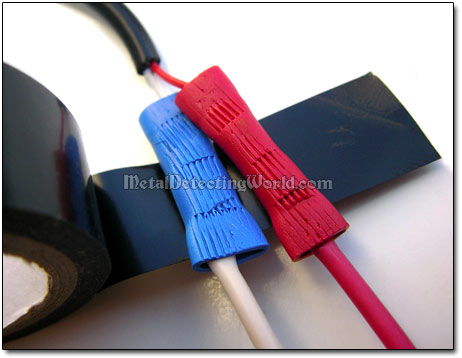
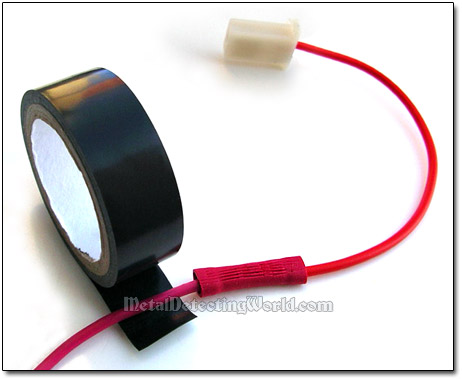
Splice two wires as described above and secure the wire joint with electrical tape.
Securing a Wire Joint with Electrical Tape
A Wire with Male Plug is Connected to Positive Terminal of AC/DC Adapter
Prepare one "male" plug with a black wire to which you will connect the negative wire end, and two "female" sockets with black wires to which you will affix the connector clips.
Wired Male and Female Sockets for Negative Wire