Minelab Metal Detector's Body Reinforcement and Modification
Body Reinforcement of Minelab Explorer, Quattro, Safari and E-Trac Metal Detectors - Tutorial
I bought my first Minelab Explorer XS in 2001. Back then, the Explorer had a substantial flaws in its body design: cracking of the plastic control box camlock, cracking of the armrest, and breaking of a small (1/8 inch) headphone socket.
But being attracted to the Explorer's impressive reputation and capabilities, I purchased it anyway. At the same time, I did not want to face any troubles mentioned above while metal detecting on daily basis and under tough detecting conditions (searching around rocks, dense vegetation, and roots at the remote mountainside locations, ravines, etc.).
So I did some simple modifications to every physical body of all Minelab Explorers I had to prolong their lives. Many years of intense metal detecting with Minelab Explorers have passed since 2001, and none of the problems mentioned above have ever arisen. Every time I met treasure hunters in the fields, they saw my Explorer XS or II and made their funny remarks, something like, "Your detector looks like it made it through the World War II." It sure did look like that but it stayed in one piece and functioned fine all the time.
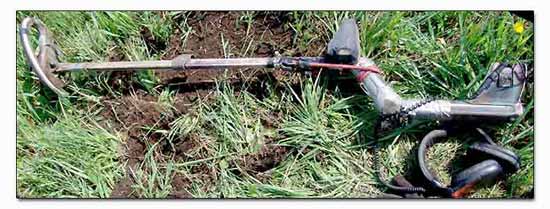
My Minelab Explorer XS Survived Through Five Years of Intense Detecting
When I acquired the new Explorer II, I knew that Minelab had had already eliminated all the flaws discovered in the body design of Explorer XS: now stronger plastic material was used for the body parts, the 1/8 inch headphone's jack was replaced by 1/4 inch one, the lower shaft was made of fibre glass.
Nevertheless, I decided to be "on a safe side" and reinforced the body of Explorer II the same way I reinforced its predecessor's one. And now, when I got my Minelab E-trac, I kept the tradition of modifying the detector's body.
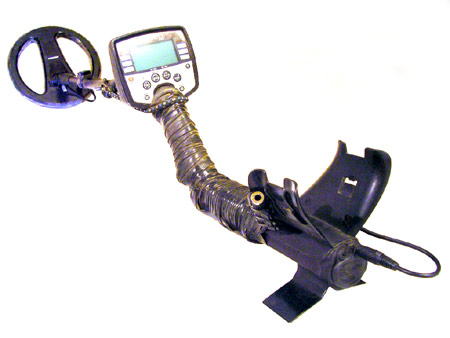
My Minelab Explorer II Modified
The following is a short tutorial on my modifications of the Minelab Explorer's body:
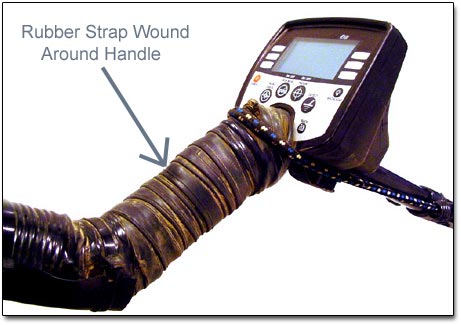
1) I made the handle wider, more comfortable and "handy" by winding a rubber strap around it.
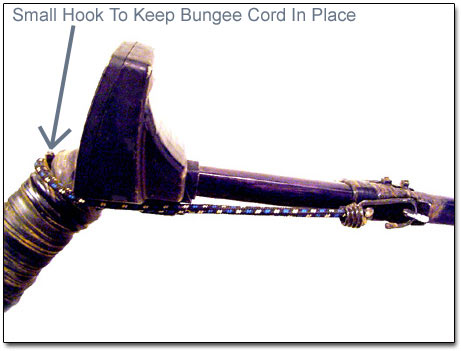
2) By using a short bungee cord, I found the way to prevent the upper shaft from (a) swinging sideways inside the control box camlock that is the only holding point of the shaft, and (b) sliding out of the camlock.
First, I placed an improvised hook (a short piece of plastic rod slightly bent) at the upper part of handle before I wound a rubber strap around the handle, thus securing the hook. The hook would keep the bungee cord from sliding towards the control box.
Then I bought a couple of plastic household hooks and firmly secured them on the upper shaft, at medium point, with zip ties and an electrical tape wound around the shaft and behind them.
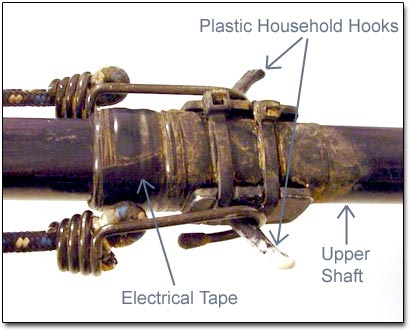
Not to increase the weight of your metal detector, it is important to use only light-weight materials.