Rust Removal by Electrolysis - A Detailed Illustrated Tutorial, p.13
2. How To Make a Simple Electrolysis Machine:
Simple How-To in Electrical Wiring - Attaching Wire Terminal to Battery Clamp Connector
(...CONTINUED from Previous Page)
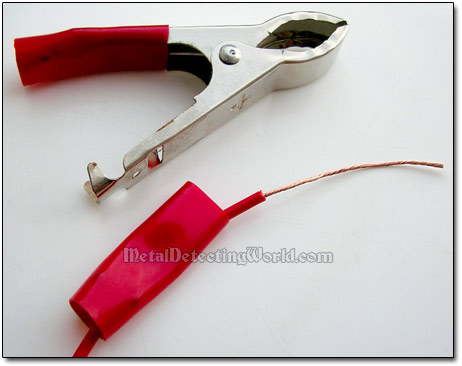
Now we affix another bare terminal of the wire piece to the battery clamp connector. Slide the handle insulator off the clamp's handle on which there are a hole with a bracket (for attaching the wire) and a crimp-on terminal (for holding the wire's insulated portion tight). Run the wire through the insulator.
Battery Clip and Another Bare Wire End
Then run the wire through two holes and around the bracket as shown on pictures below.
Bare Wire End Is Pulled through the Hole...
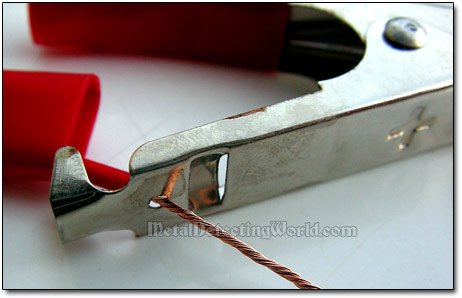
...and through an Opening
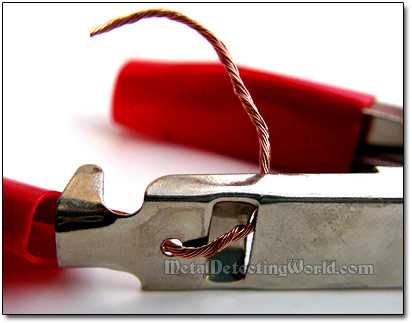
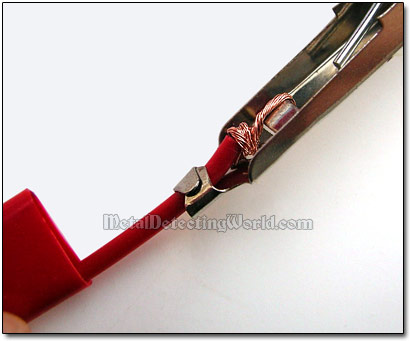
Wind the wire around itself to make a loop, and twist the loop tightly to make a tight connection.
A Wire Loop Is Twisted Tight
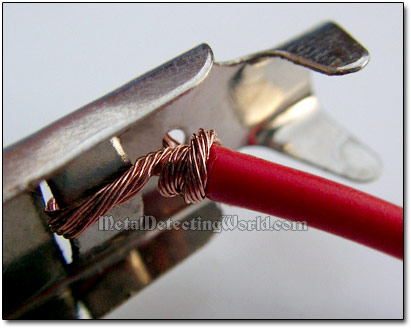
Finally, secure the insulated portion of the wire terminal by crimping the crimp-on terminal on the clamp's handle.
Wire Is Secured by Crimping with Wire Wraps at the Clamp's Contact Terminal
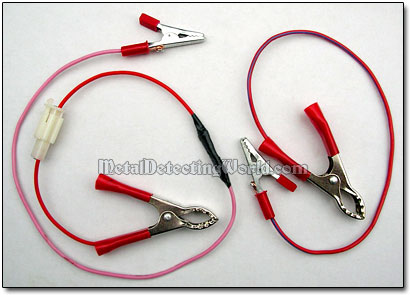
After you slide the insulator back on the handle, your anode connecting set is ready to be employed. On a picture below. you can see two anode connecting sets I used for this tutorial. One set includes a white male-female connector. I made that for later replacements of those clips that would have become too corroded after multiple uses, or accidentally immersed into electrolyte.
Two Additional ANODE Connecting Sets
Most battery charger clamps have a rather loose connection between the wire and the clamp's terminal. Also, if the crimped connection involves an uninsulated wire, eventually, some corrosion will occur there as well; thus, increasing electrical resistance. When this happens, the connection will overheat, possibly to the point of melting insulation. To avoid a mishap, clean the clamps and alligator clips with sandpaper regularly, if necessary, disconnect the wire from the connectors (use an awl to open the crimp) for cleaning.
NOTE: If you are wiring your boat or car, all connections should be SOLDERED (see details in the "Soldering" section on page 32) for safety and performance. You may want to solder all connections between wires and connectors in your electrolysis setup if you are going to use it on a regular basis.
Back to page 9 or page 10 of my "Coin Electrolysis" tutorial
4) Cathode - Negative Electrode, and Cathode Connectors
In electrolysis, an electrode connected to the charger's negative (black) terminal is called cathode. Cathode is connected to the iron object to be de-rusted. Some enthusiasts submerge the cathode along with the iron object, but I would not recommend to do so (see more details in the "Placing Electrodes Properly" section on page 19).
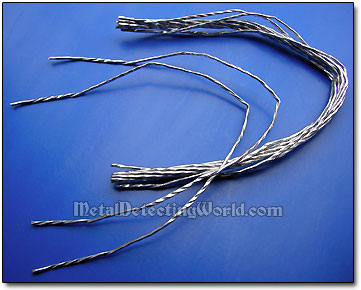
The choice of a cathode could be either the charger's clamp itself, additional connecting sets (see details in the "Multiple-Part Electrolysis of Medium-Sized Artifacts" section on page 36), a piece of 12-gauge bare copper wire (see details in the "Multiple-Part Electrolysis" section on page 31, and on page 36), a piece of wire with a loop on one end (see details in the "Electrolysis of Cannonballs" section on page 37), or 2.5mm steel wire that I wind around the iron object to increase the contact area (see details in on page 19).
2.5mm Steel Wire for Cathode Connection
If you are going to derust the medium-sized artifacts with the multiple-part electrolysis (see details on page 36), you make additional cathode connecting sets the same way as described above.